Have a Question?
Upgrade Eaglesoft – Workstation
Workstation Installation or Upgrade Prerequisites
- Estimated install time for Eaglesoft 21 is between 5 and 30 minutes per workstation depending on the speed of your computer.
- Eaglesoft 21 must already be installed on the server computer.
- Run any outstanding Windows Updates and Reboot
- Close any running programs including Eaglesoft on this computer.
Step 1: Download the installed
Note: The same installer used on the server can be used on each workstation

- Download the installer from the Server or from Eaglesoft.com
- This typically defaults to save to your Downloads folder.
- If you have already downloaded this on your server and copied it to a shared location, you may access it in the shared directory instead of downloading it again.
Step 2: Run the installer
- Double-Click EaglesoftSetup_XX.XX.XX.exe to begin installation. (XX.XX.XX will be replaced with the version number)

- Click Install Eaglesoft

Step 3: Wait for the installer to install any Pre-reqs needed
Optional: Based on your setup, this screen may not appear.
- If any prerequisites exist that need installed, click Install. Otherwise, skip to the next step.
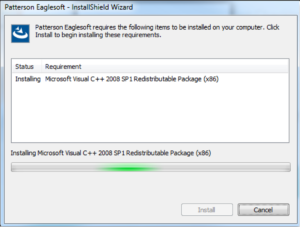
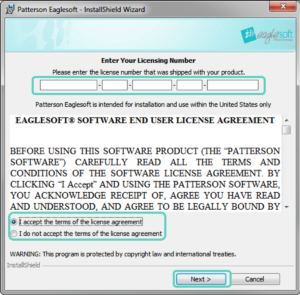
Step 4: Enter in the License Key
- Enter your Eaglesoft License Key.
- Read the license agreement. Choose I accept the terms of the license agreement and click Next.
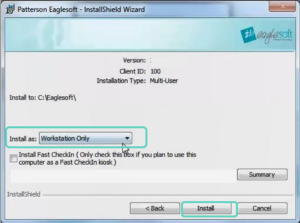
Step 4: Install location and Settings
- To change the install location, create the Eaglesoft folder in the desired location first, then click Change and browse to the newly created Eaglesoft folder.
- Select how you want to install your Eaglesoft:
- Workstation Only
- Select Summary to view a recap of the installed components.
- Click Install
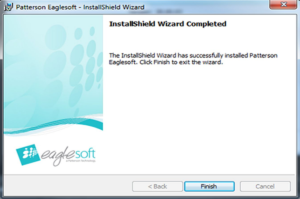
Step 5: Finishing the Installation
- The Finishing Patterson Installation window appears. Please be patient during this process.

- Click Finish.
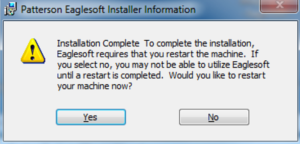
- Click Yes to restart your computer.
- Reboot your computer after installing.
This completes workstation installation. Repeat steps on each workstation you will use for Eaglesoft

